AWS Amplify has recently introduced a new platform called “Web Compute” that claims better support and performance for Next.js 12 and higher. But for us, it proved to be a disaster.
We have migrated to it and our website went down, and we spent many hours trying to get things working back again. If you have been using AWS Amplify for the last few years, you probably have the same problem as we do. The build completes, but then the website does not work.
How did it happen?
Long story short, AWS has moved to the new platform called “Web Compute”. It is opposed to the old platform “Web Dynamic” that probably did not have a name just a few months ago.
It is possible that either you created a new Amplify app, or just migrated the old one
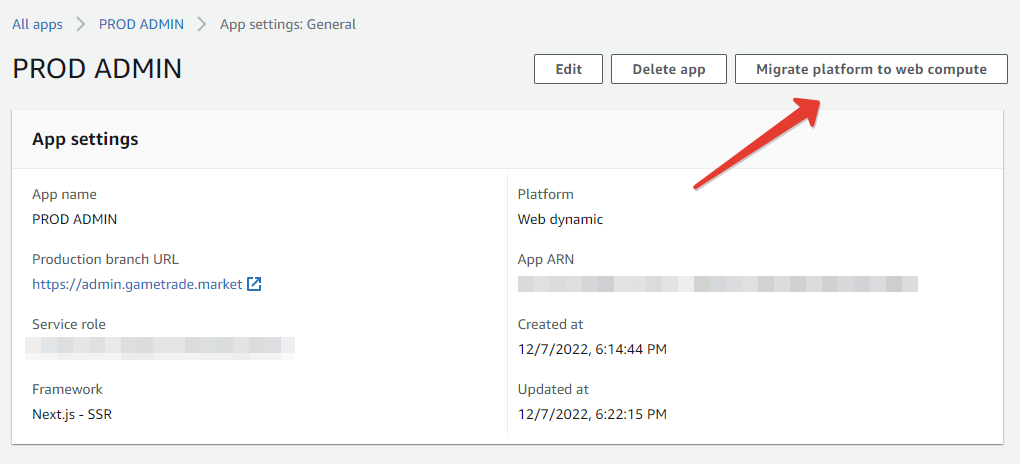
A button to migrate AWS Amplify to Web Compute
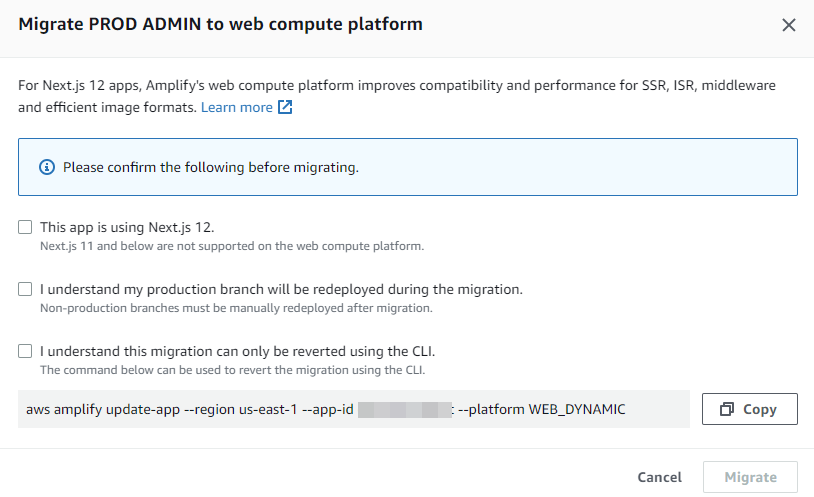
Popup when migrating an AWS Amplify app from Web Dynamic to Web Compute
The problem
The build succeeds
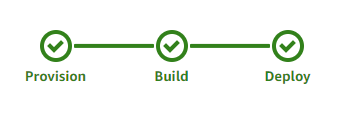
AWS Amplify successful build and deploy
but then it fails when rendering the page:
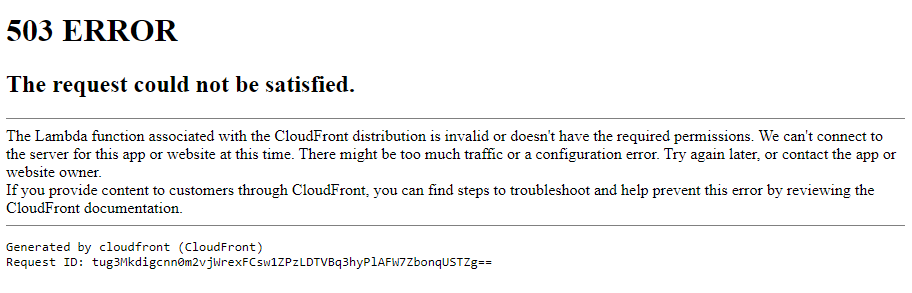
The Lambda function associated with the CloudFront distribution is invalid or doesn’t have the required permissions.
What’s the reason of the failure?
The underlying reason of the failure is that the build process changed, and if your monorepo build has various manual steps with different paths in amplify.yml, some files will not get into the package. You can just compare the lambdas generated bu the old build and the new build
Simple solution
If you don’t have time to fix the build, you can create the old-fashioned Web Dynamic app. It will work just as it has worked before. The important thing here – IT can only be done via the AWS CLI or other API client.
Here is my solution:
- Create (or get already existing) security credentials for an AWS user with sufficient permissions. Remember the Access key ID and Secret Key
- Create (or find an already existing) role to be used with Amplify. The easiest would be to get a service role from an already existing Amplify app. You need the ARN of this role, remember it as %ROLE_ARN%
- Get the repository URL that you want to use. Do not include `/tree/main` (opposed to what you see in the AWS Amplify’s UI). Remember the repo URL as %REPO_URL%. Also remember the branch that you want to use as %BRANCH%
- This one is tricky. I will suppose that you use github, so you will need to create an access token for github. The best part is, AWS Amplify will replace it with its own token as soon as you are done, but you will still need to create one first.
- Visit https://github.com/settings/tokens/new. I am using the classic here as it’s not important.
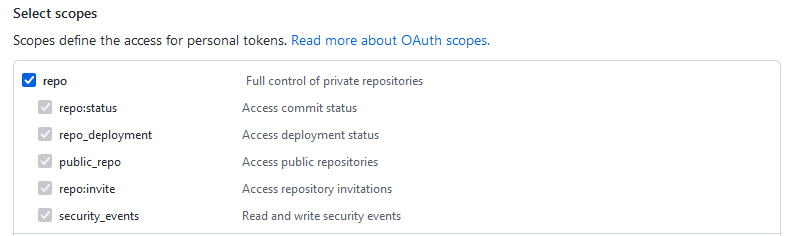
- Add a name, then select all “repo” permissions
- Create the token by pressing “Generate the token” in the bottom
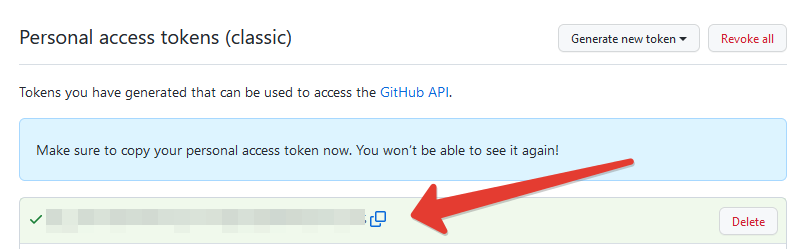
- Here is your access token, make sure to remember it as %ACCESS_TOKEN%
- Add a name, then select all “repo” permissions
- Visit https://github.com/settings/tokens/new. I am using the classic here as it’s not important.
- Install AWS CLI https://docs.aws.amazon.com/cli/latest/userguide/getting-started-install.html
- Open the console (powershell or Git Bash on Windows, terminal on MacOS and Linux)
- Run
aws configure
- Provide the Access key ID, Secret Key and region (the region should be the same as the Amplify app’s). Set the output format to `json`
- Replace variables in percent marks with the values that you remembered from the previous steps
aws amplify create-app --platform WEB_DYNAMIC --repository %REPO_URL% --name admin --access-token %ACCESS_TOKEN% --iam-service-role-arn %ROLE_ARN%
- You will get a json in your output. Remember the app id from it
- Run aws amplify create-branch –app-id %APP_ID% –branch-name %BRANCH% –stage PRODUCTION and replace variables in percent marks with the values that you remembered from the previous steps
- Now you can visit the AWS Amplify and work with the new app from the UI. I would recommend reconnecting the repository from the UI and removing your personal token on Github that you created during the steps.
